

-

Using the VIC-Gimbal
Designed for precision, automated calibration of VIC-3D systems, the VIC-Gimbal provides a unique solution for researchers working with high-resolution cameras, small depths-of-field (DOF), confined/hazardous testing areas, and iterative testing scenarios requiring programmable, repeatable calibration
-

Digital Image Correlation + Thermal Imaging in VIC-3D 10
Recently, we conducted a controlled test featuring the infrared module in VIC-3D 10 to demonstrate an updated procedure for calibrating IR and white light cameras.
-

Introducing VIC-3D 10 - Changes to the iris DIC Visualization Workspace
This is the second of a series of short videos that outline some significant updates to the capabilities of the iris graphics engine that have now been implemented in VIC-3D 10.
-

Introducing VIC-3D 10 - Changes to the DIC Analysis Workspace
We are proud to introduce VIC-3D 10 - the latest version of the flagship 3D digital image correlation software from Correlated Solutions. Building on iris, the graphics engine introduced in version 9, the all-new VIC-3D 10 delivers an unparalleled DIC analysis workspace with a range of new features designed specifically to facilitate 3D data analysis and visualization.
This series of short videos is designed to provide an overview of the various changes that have been made to VIC-3D 10 and to acclimate our current customers to the new features and user interfaces.
The most noticeable changes are to the user interface in the analysis workspace itself which has seen a wide range of enhancements to plotting, visualization, and customizability. This is the result of a completely revised graphics engine which utilizes the iris renderer for all plots. In other words, the controls for how data gets manipulated, displayed, and exported in the analysis workspace now mirror the controls in the iris workspace. This structural change will make DIC research more effective and efficient, but it may take a little getting used to for those long-term VIC-3D users who haven’t yet become familiar with the iris visualization engine.
To demonstrate the UI updates, let’s look at this data from a recent test measuring the impact of a small caliber projectile into a block of ballistics gel. First, there are a few ways to move the image on the page. Click and drag outside the image to move the whole page and use the mouse wheel to zoom. Click once on the image to move the image around the page. Double-click and notice the red outline. When you see this, click and drag to adjust the image within the frame. Just double-click outside the frame to unselect. Right-click on the image to switch to the 3D view. From here, we’ll go over the new tabs in the expanded plot tools panel which is located on the right in VIC-3D 10, by default. Familiar with the panel being on the left? You can easily change the layout in the global preferences.
Let’s start with the SEQUENCE TAB, which provides the ability to show the speckle pattern as well as a show, hide, and customize a wireframe mesh directly on the 3D plot. This will prove useful to customers who are interested in comparing DIC and FEA data at the node level. Also notice here the functionality provided by the all-new range sliders – which appear in several of the tabs and which can quickly adjust variables to refine the look of the plot. Just click here to adjust the numbers more precisely.
Moving to the VIEW TAB, we’ve added an optional 3D axis along with the ability to show, hide, or customize the coordinate system. Also, especially for those users who work in inches, notice the new options under the LENGTH UNITS drop down. Double-click on the image to adjust the 3D orientation by clicking and dragging.
Under the CONTOUR TAB, find more control over the look and feel of the data you’re presenting including the new ability to create custom color contour maps in global preferences. We’ll go over how to do that in a later video.
Right-click again and switch back to a 2D view. The tabs and corresponding options are similar to the 3D view, but we’ve added a SCALE TAB that allows you to add a custom scale to the plot. To illustrate the scale change, double-click to bring up the red outline and zoom by scrolling.
Right-click again and take particular notice of the new export options. VIC-3D 10 now enables export of the highest quality media – images, pdfs, and up to 4K, extremely high-quality video - directly from the DIC analysis workspace. This is the main reason for making the underlying change to the basic user interface because it means users can now quickly share stunning DIC visuals for instruction and collaboration or prepare data for publication more efficiently and professionally.
And if you are interested in juxtaposing and animating DIC data for a more complex presentation, we’ve also made significant UI updates to the iris workspace. We’ll take a look at some of those updates in the next video.
-

Fundamentals of Speckling for DIC
This video covers the fundamentals of creating an effective speckle pattern for digital image correlation.
-

DIC Visualization using VIC-3D with iris
This tutorial introduces the data visualization potential of the iris graphics engine which now comes standard with every Correlated Solutions digital image correlation system.
-

Analysis in VIC-3D
This video covers basic 3D digital image correlation analysis using the VIC-3D software from Correlated Solutions.
-

Importing Images and Pre-analysis in VIC-3D
This is the third of five tutorial videos that cover the basics of using the VIC-3D digital image correlation system from Correlated Solutions. This video reviews importing calibration and test images into the VIC-3D software and preparing for DIC analysis.
-
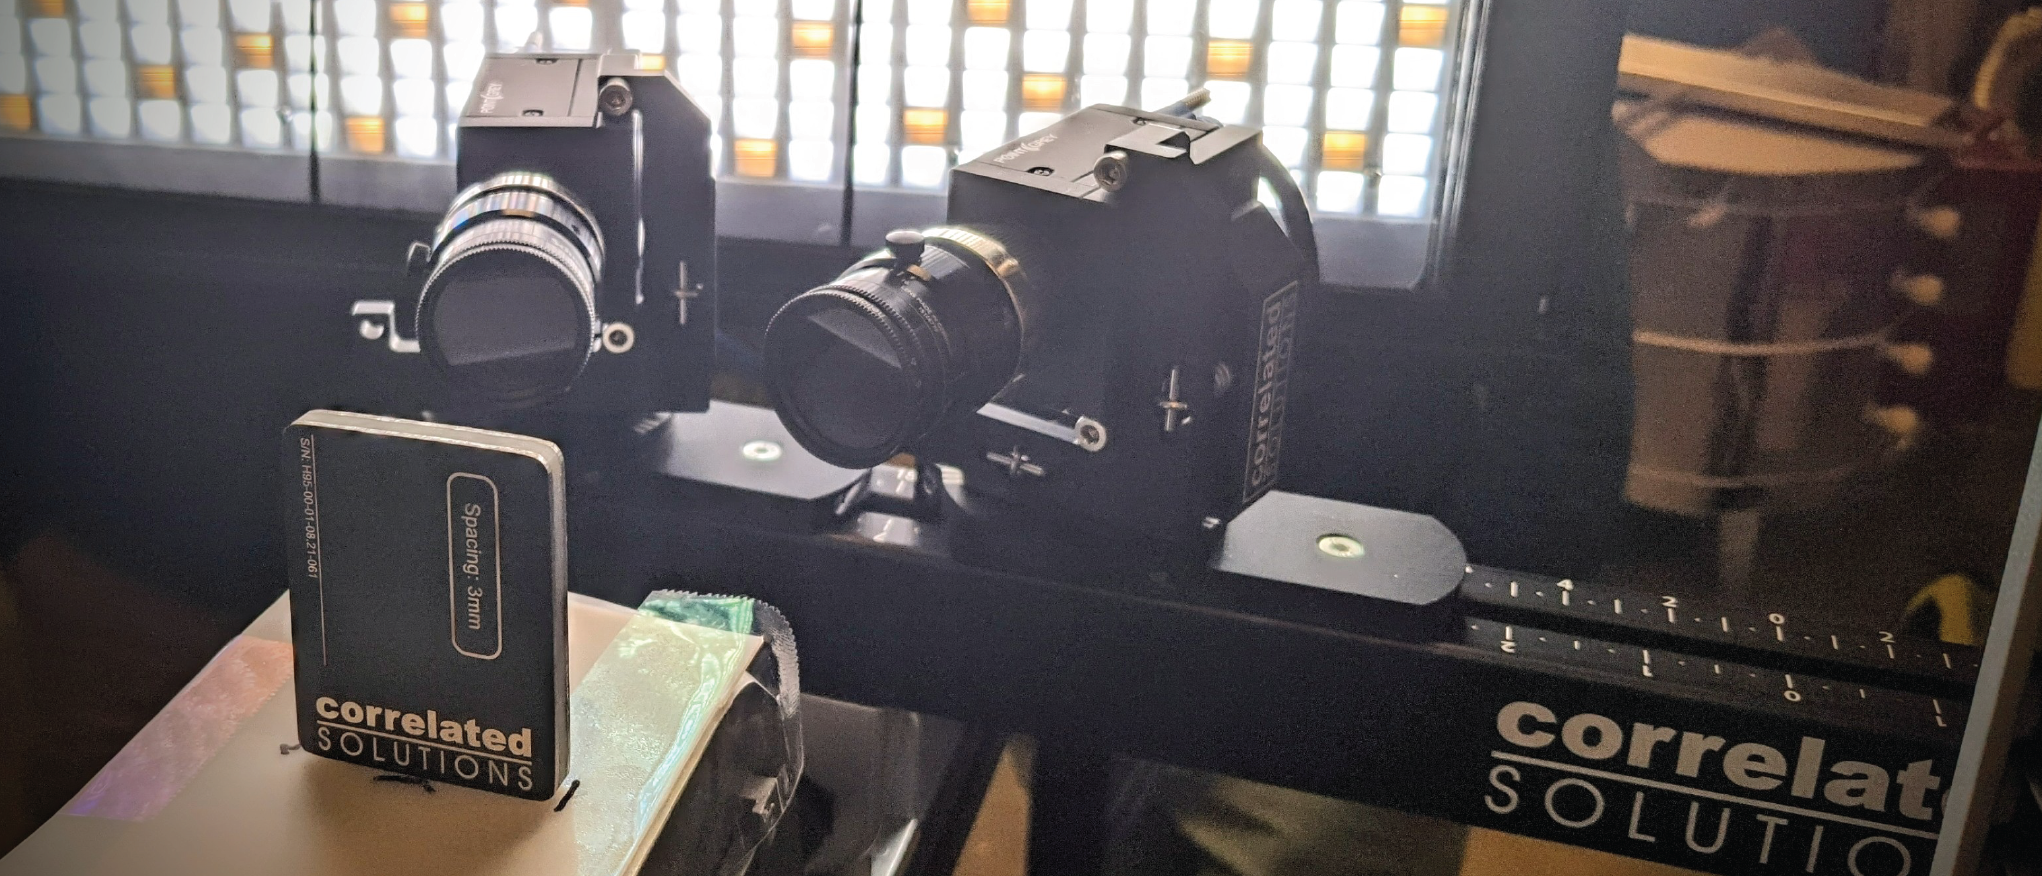
Capturing Test Images in VIC-Snap for DIC
This is the second of five tutorial videos that cover the basics of using the VIC-3D digital image correlation system from Correlated Solutions. This video covers best practices for capturing test images in VIC-Snap.
-

Aligning Objects
Today we’ll cover Aligning Objects in VIC-3D 9 with iris. There are two methods of aligning objects within iris. You can align an object to the page or to another object.
I’ll start here with a 2D plot with speckles and a logo. Neither are selected.
Click on Fit to Page on the toolbar for a better view.
Click the plot and notice the dotted line to indicate that the object is selected.
Click here to center the plot horizontally on the page.
Click here to center it vertically on the page.
Now we can do the same with a logo.
With the logo still selected, hold down the SHIFT key and select the plot.
Now both objects are selected and can be moved around the page together. To align multiple objects relative to each other, simply select all of the objects you would like to manipulate.
Note that the object selected last is the anchor point or what the alignment will be relative to.
As you can see, aligning objects to the page and to each other is pretty easy in VIC-3D 9 with iris.
If you have any questions, please contact our support team.
-

Easing Functions 1
Easing functions are useful for creating natural-looking animation of objects in VIC-3D 9 with iris. If you have any questions, please contact our support team.
www.correlatedsolutions.com/contact-us/
803.926.7272 ext 2
Script
This video will cover how to handle objects moving around the frame - specifically transitions between keyframes using easing functions. When animating objects, easing is used to make motion look more natural.
A linear motion with an instantaneous start and stop appears artificial; adding smooth start and stop, acceleration, or “bounce” effects can remedy this. To demonstrate, we’ll create a logo drop like you see here. We’ll begin with the object out of the frame and set the first keyframe. Then we’ll move our play head forward several seconds and move the object into the center of the frame and set another keyframe. Now, you can see that the logo drops slowly into the second position over time.
To apply an easing function, right click on the timeline between the two keyframes you’ve created. There are a range of pre-defined actions from which to choose. We’ll go with “Out Elastic” to create a bounce effect. You can see that effect here.
All easing functions can be customized, so users are in complete control over how to animate objects around the frame.
In the next video we’ll go over easing functions in more detail and demonstrate a few of the pre-defined options.
-
Easing Functions 2
Easing functions are useful for creating natural-looking animation of objects in VIC-3D 9 with iris. If you have any questions, please contact our support team.
www.correlatedsolutions.com/contact-us/
803.926.7272 ext 2
Script:
Previously we covered how to apply easing functions to control the movement of objects around the frame in iris.
In this video, we’ll go into more detail and demonstrate a few of the more popular easing options.
Each easing option can affect the beginning motion (In), the end motion (Out), both (InOut), or work from the center out (OutIn).
To review, easing options may be selected by right-clicking on the timeline between the relevant keyframes and choosing from the Easing submenu.
Six main categories of predefined easing options are available.
Selecting Customize allows further customization of the exact parameters of the easing curve.
It is also a convenient way to preview the motion of each easing curve.
As you can see, the range of easing functions in VIC-3D 9 with iris allows users a great deal of flexibility with how objects are animated.
-
Plotting a Single Data File
In this video, we will review how to plot a specific data file in VIC-3D 9 with iris. If you have any questions, please contact our support team.
www.correlatedsolutions.com/contact-us/
803.926.7272 ext 2
Script:
There may be occasions where you only want to plot a single data file, such as the instant before failure at max load.
The first step is to add a new sequence using Iris Tools from the toolbar. Navigate to the relevant folder and select the single data file you would like to view.
Name sequence appropriately.
Next, navigate to the sequence manager. Select the sequence we just created.
Finally, change the data source in the properties editor in the right side bar. as shown here.
Now you can see we have the single data file that can be animated using all the tools in iris.
-

Zoom Effect with Clipping
In this video, we will review the zoom effect with clipping in VIC-3D 9 with iris. If you have any questions, please contact our support team.
www.correlatedsolutions.com/contact-us/
803.926.7272 ext 2
Script
Let’s start with some simple shapes to demonstrate the concept of clipping. Sometimes called ‘masking’, this effect involves obscuring a section of one object by placing another object on top to create a mask.
To illustrate, first draw a circle using the DRAW ELLIPSE TOOL and then a rectangle with the DRAW RECTANGLE TOOL in iris. Reminder - pressing SHIFT while drawing constrains the proportions. For the rectangle, remove the fill but keep the stroke. Then make sure the rectangle is arranged on top of the circle using the depth setting in the menu. Now, select both shapes by selecting one and then SHIFT + select the other. Then press “C” on the keyboard. You can see that the top object – in this case the rectangle – acts like a mask for the object underneath. To undo the clipping effect, select the group and press SHIFT + C.
Objects can also be clipped using the context menu shown here when right clicking on two selected objects.
Now let’s see how this works on a plot with animation.
To zoom in on a specific region of a 2D or 3D plot, draw a shape over the area of the plot to be clipped. Then select the object and the drawn shape, and then press “C” on the keyboard. Again, selecting any clipped objects and pressing SHIFT +“C” will unclip the objects.
The clipped object can now be animated to show or hide objects as well as bring focus to certain areas within a plot.
In this example, as the strain increases, we’ll zoom in to show more detail.
We’ll start with the 3D plot and add a keyframe at 0. Then move the play head to 10 second, add another keyframe and set the time to 1.0.
Now, copy this plot using CTRL + C and paste in place with CTRL + SHIFT + V. Now you have two identical plots in the same location. Make sure the top plot is selected and your play head is on 0. Add keyframes for scale and position. Now move the play head to 10 and add another keyframe for scale and another for position. Now move the plot to a new position on the left and increase the size.
Now, draw a circle using the ellipse tool and place it on top of the plot at the location you would like to highlight. With the play head on 0, add keyframes for scale and position. Now move the play head to 10 and add a keyframe for scale and another for position. Now move the circle to a new position on the left and increase the size.
Now we need to create the reference circle which doesn’t move. To do this, copy the circle using CTRL + C and paste in place with CTRL + SHIFT + V. Now delete the keyframes at 10 seconds on the new circle so that it is stationary. As you can see, the first circle moves out leaving the other as a reference.
To complete the effect, simply select both the circle and the plot by selecting one and then SHIFT + select the other. Then press “C” on the keyboard. You can adjust the arrangement parameters using the depth selection on the menu. The original, non-moving plot should be the lowest number at 100. The non-moving reference circle should on top of that at 101 and the clipped pair at 102.
To fine tune the placement, just remember to keep your play head at 10 seconds and select the plot or circle and adjust the size and position.
If you have any questions, please contact our support team.
-

Calibration using VIC-Snap & VIC-3D
This is the first of a series of five tutorial videos that cover the basics of using the VIC-3D digital image correlation system. This first video covers calibration for 3D DIC using the new laser-marked targets from Correlated Solutions.
Please note that every test is different and much depends on the unique parameters of specific test conditions. This calibration was performed without using linear polarizers on the lenses and the light source, which can help reduce reflections making the calibration that much easier. If you have any questions, please contact our Support Team who are always ready to help.